No menus. No bloat. Just instant screenshots, rapid annotations, and keyboard shortcuts that bind directly to your workflow.
First-time install takes ~60 seconds.
See the step-by-step guide →Engineered for speed, not feature checklists.
Customize every shortcut. Press "T" for text, "R" for rectangle, "D" for drawing. Your mouse stays out of the way.
Built entirely in Swift and SwiftUI. It launches instantly, uses virtually zero RAM, and feels exactly like a native Apple app should.
Everything happens on-device. No cloud processing, no AI analytics, no tracking. Your screenshots belong exclusively to you.
Designed for a strictly keyboard-centric workflow. Keep your hands on the keys to annotate at the speed of thought.
Hit ⌘ Shift 1 to instantly capture your screen. The image drops directly into your floating stack overlay.
Toggle the overlay panel's visibility at any time by pressing ⌘ Shift 2.
Click any screenshot in your stack to open the Editor. Navigate tools instantly using single keystrokes:
Scroll anywhere to pan around the infinite canvas, or pinch to zoom in on specific pixels.
Need to combine images? Just drag and drop an external image directly into the editor, or hit ⌘ V to paste one from your clipboard.
Hit the Save Edits button to perfectly flatten your annotations. The app automatically calculates the bounding box.
To use your screenshot, just Drag and Drop it straight from the stack into Slack, LINE, or Notes. Press Esc anytime to discard.
Because Screenshot Stacker isn't from the App Store, macOS needs a one-time nudge to trust it. Here's exactly what to do.
Click the Download button above. Once the zip finishes downloading, double-click ScreenshotStacker.zip in your Downloads folder to extract it.
You will immediately get the ScreenshotStacker.app file ready to use.
Drag the extracted ScreenshotStacker.app into your Applications folder.
Crucial Step: This ensures macOS gives the app the correct permissions sandbox to run smoothly and save settings. Do not run it directly from the Downloads folder.
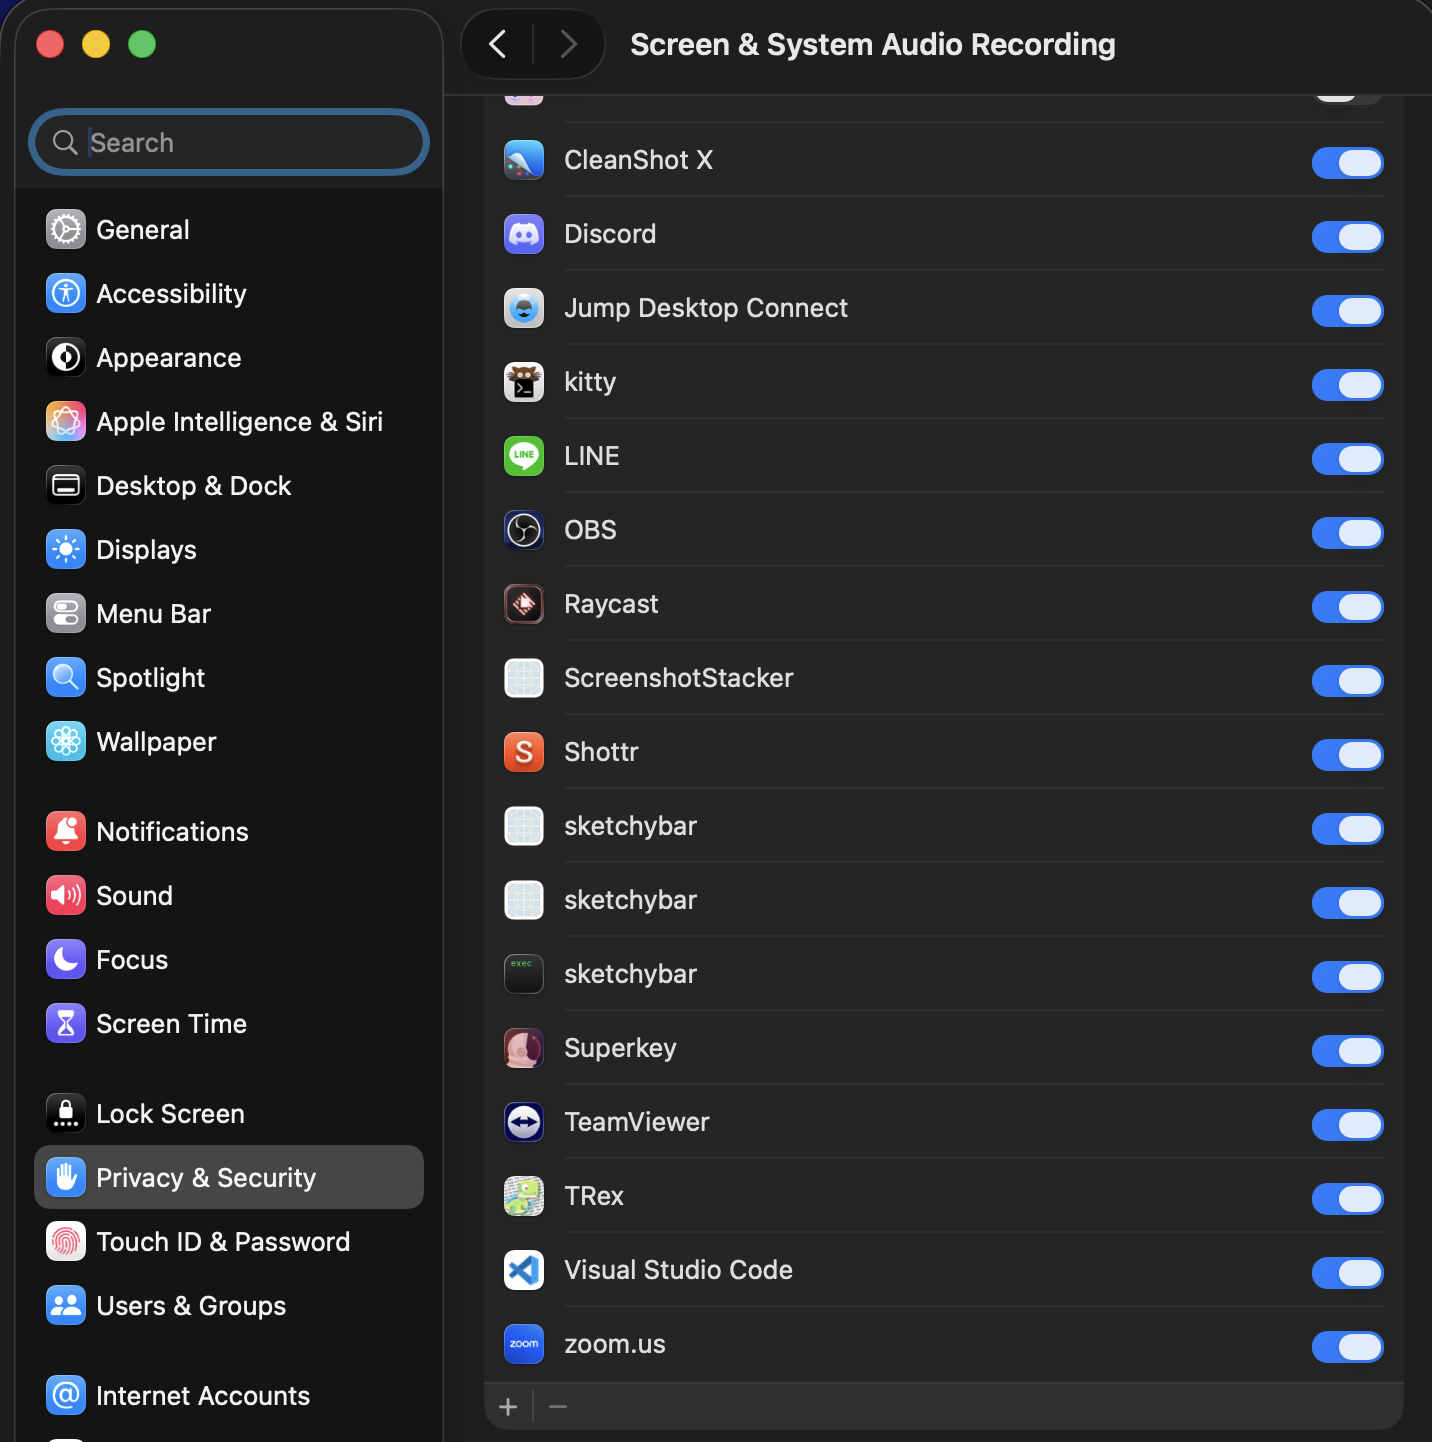
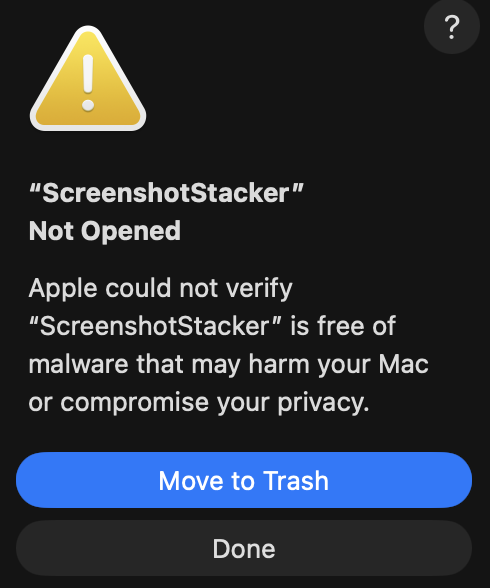
Double-click the app. macOS will block it with a security warning — this is normal for indie apps outside the App Store.
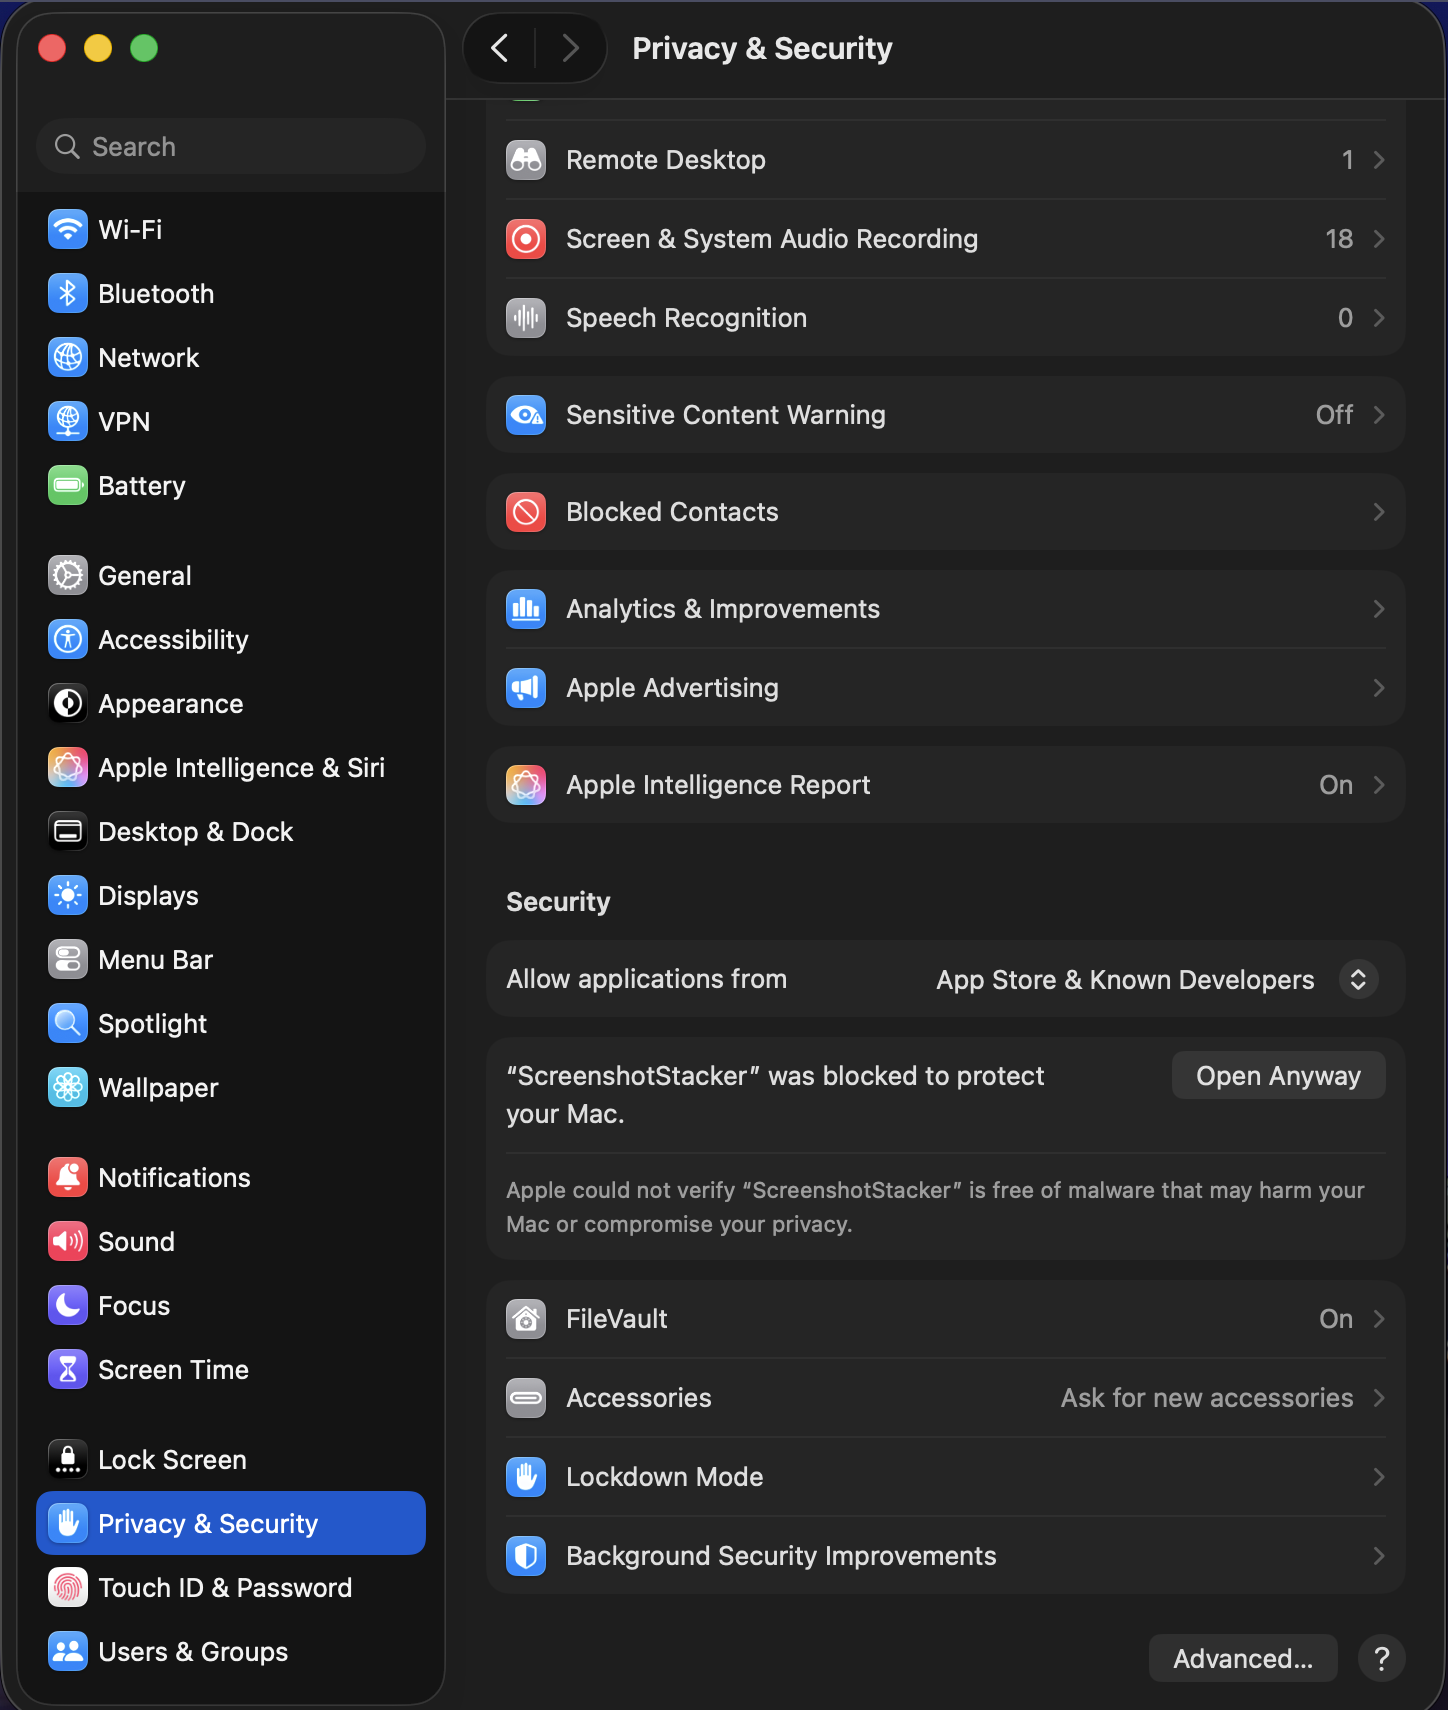
Open System Settings → Privacy & Security. Scroll down until you see the "ScreenshotStacker was blocked" notice and click "Open Anyway".
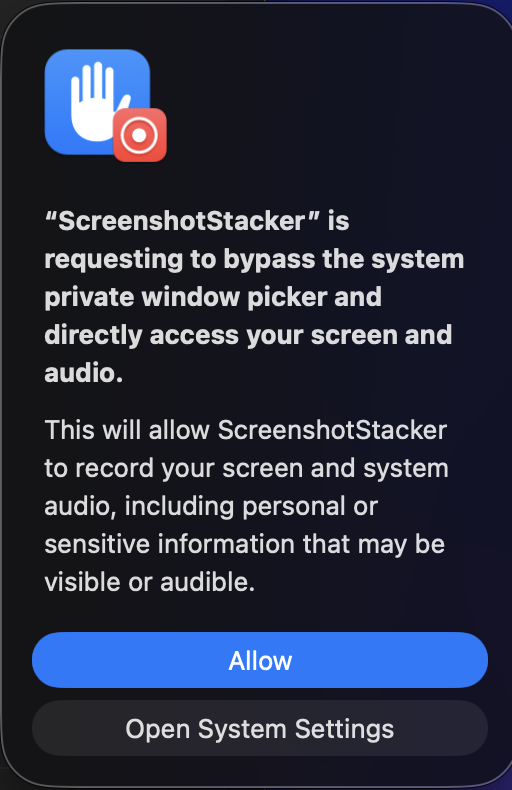
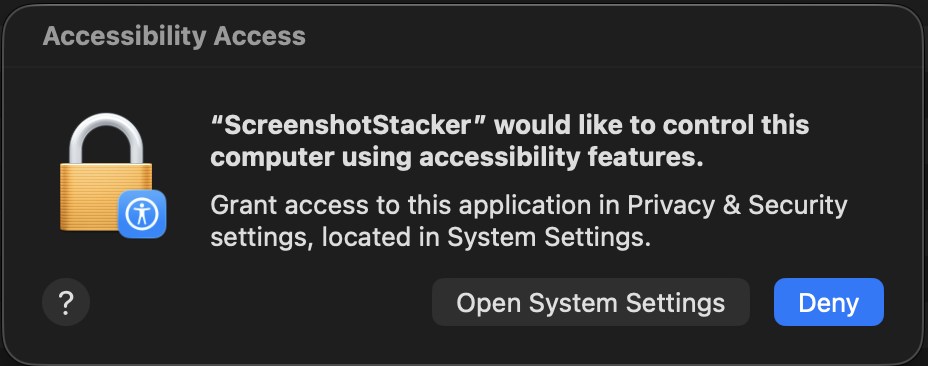
On first launch, macOS will ask for two permissions. The app will walk you through them automatically.
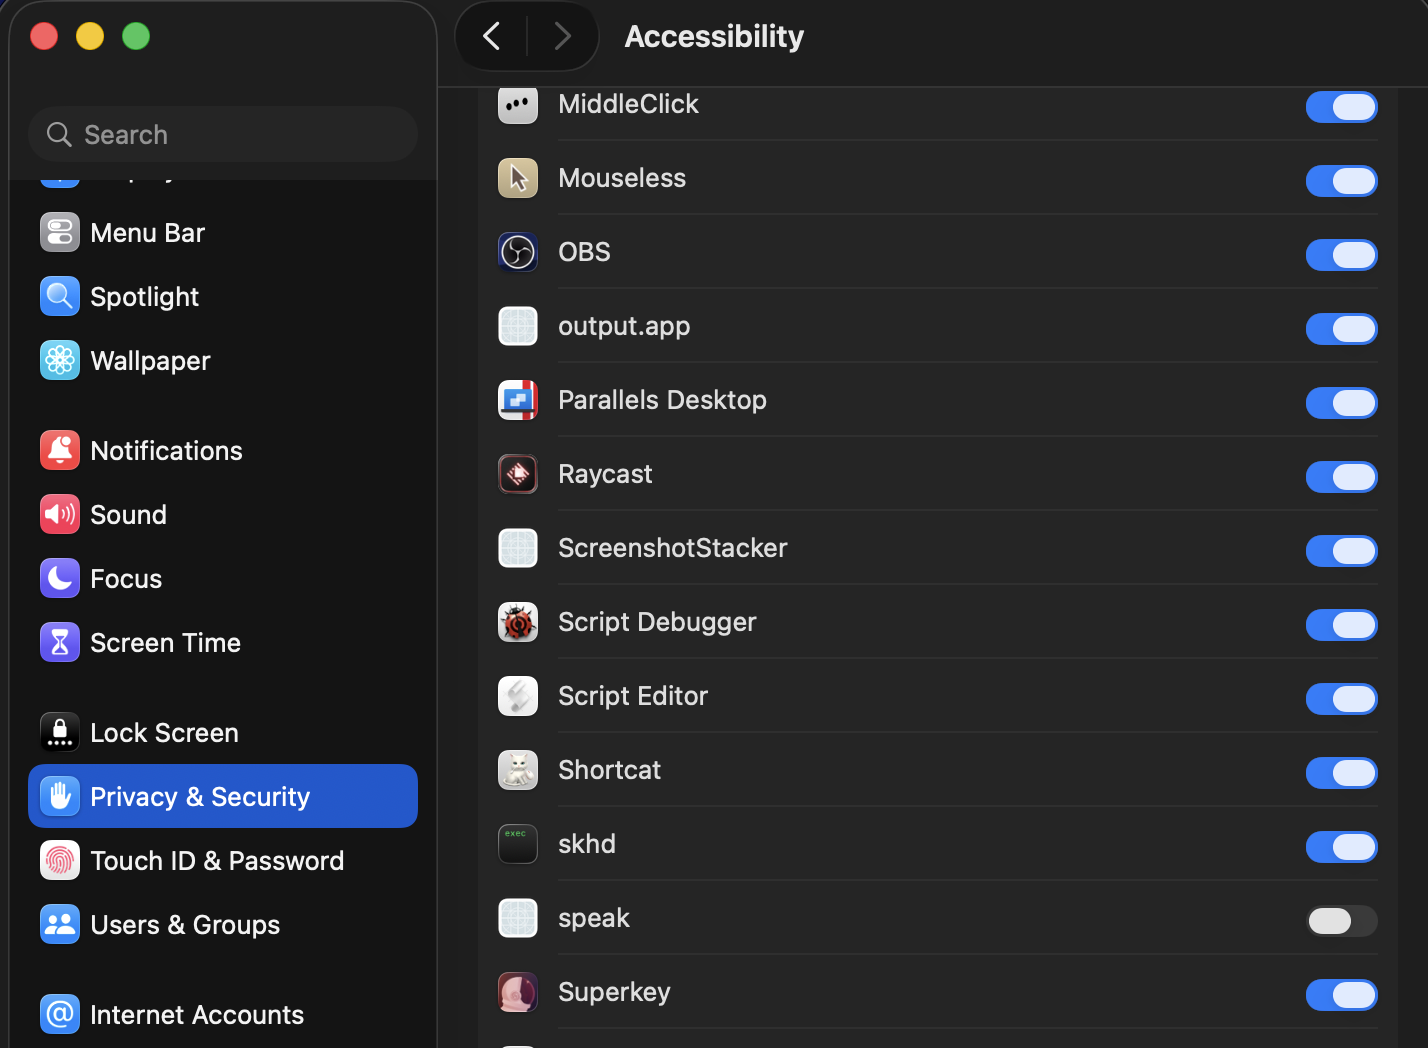
Look for the 📸 icon in your menu bar. Press ⌘ Shift 1 to begin.
Questions or issues during install? Email support@screenshotstacker.com
The app is entirely free to use. Buy a license to remove the nag screen and support future development.